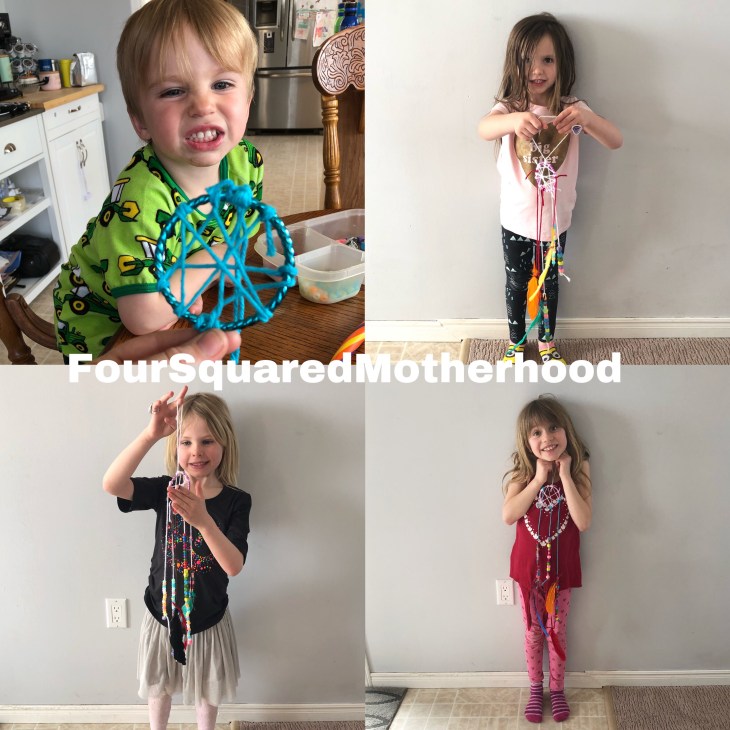
Lately our house has been full of nightmares and sleepless nights. I happened to stumble across a dream catcher while looking for Toy Story things for my 2 year old. It reminded me of all the ones I made as a kid at camp and school. Luckily most of the stuff needed is kept in our craft bin, craft door hanger or my yarn stash(I may have a problem!). We made a stop at Walmart and Dollarama for some bracelets and a hula hoop, then we got started!
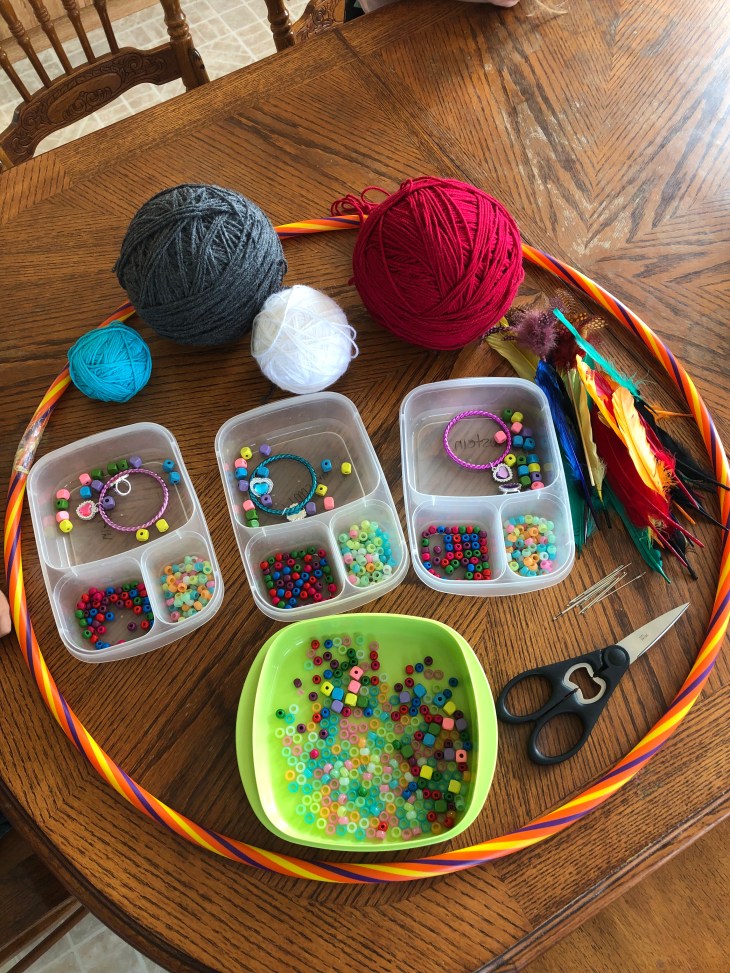
Supplies:
-yarn, twine, string, embroidery floss
-scissors
-bracelet, hula hoop, embroidery hoop, paper plate with the centre cut out
-beads (wood, plastic, glow in the dark)
-feathers(optional)
-darning needles (optional)
1. Round up your supplies and sort it all out. I separated all the beads and set up a work space for each child just to make it easier for me and less fighting.
2. Cut a length of your yarn (I cut ours ridiculously long and we used the excess to make the tails) and tie it securely onto your frame (bracelet, hoop).
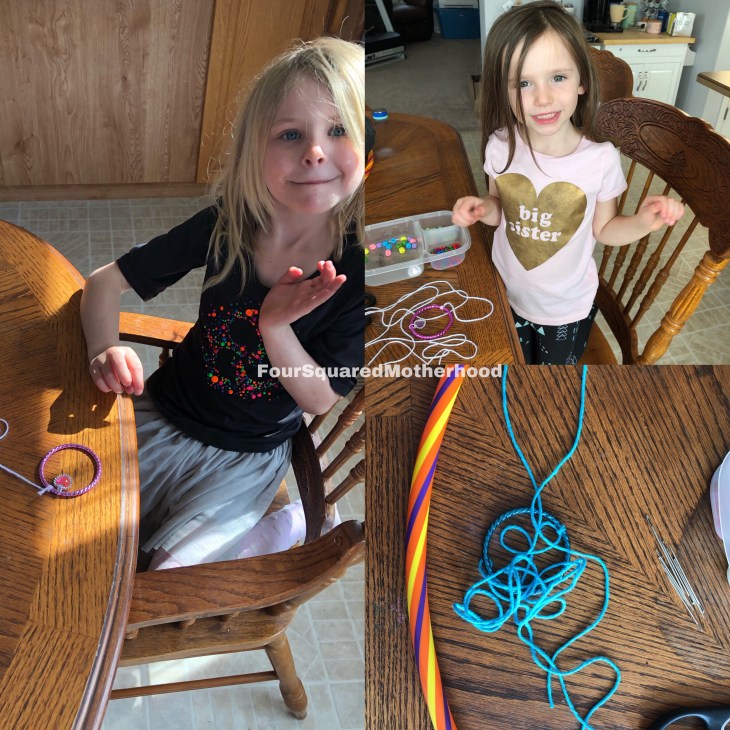
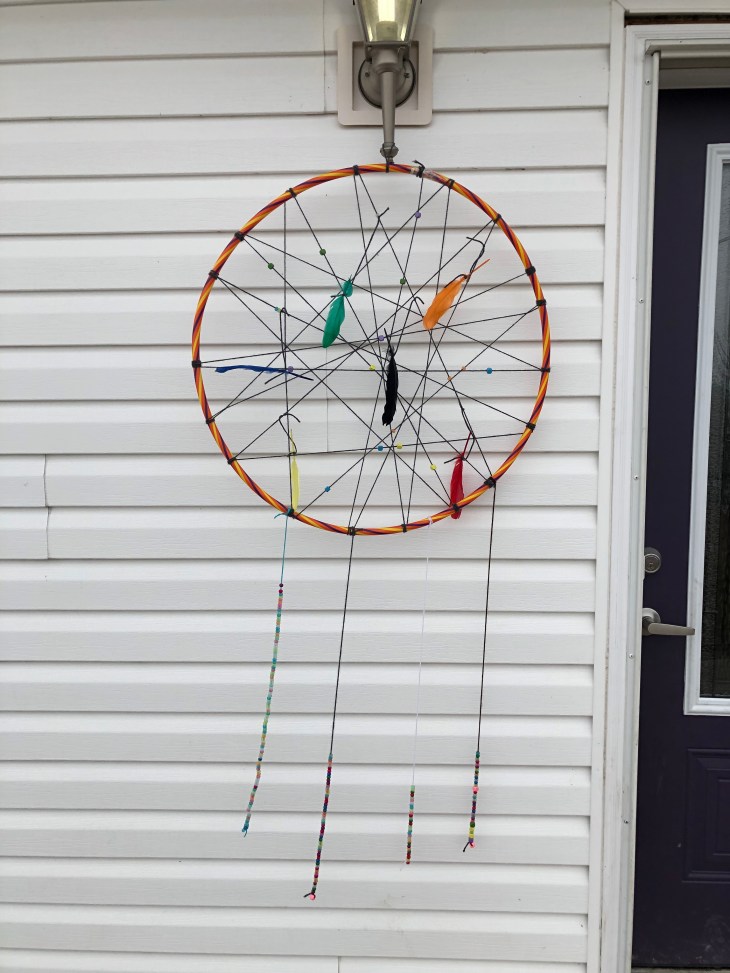
3. Pull taunt across the hoop and loop around the other side a couple times (the kids did 2 and it was a bit loose, I did 5/6 and it was probably a bit much). Continue pulling across taunt and looping it around until you have the look you want then tie off. I added beads to mine but it was too hard for the kids(I just strung mine on before hand and slide them up before I looped).

4. Cut a length of yarn add a bead to the end and tie it securely. Add beads until it’s the length or look you want. We added a darning needle to the end because our wooden beads made it extremely hard to get yarn through. Tie onto the dream catcher.
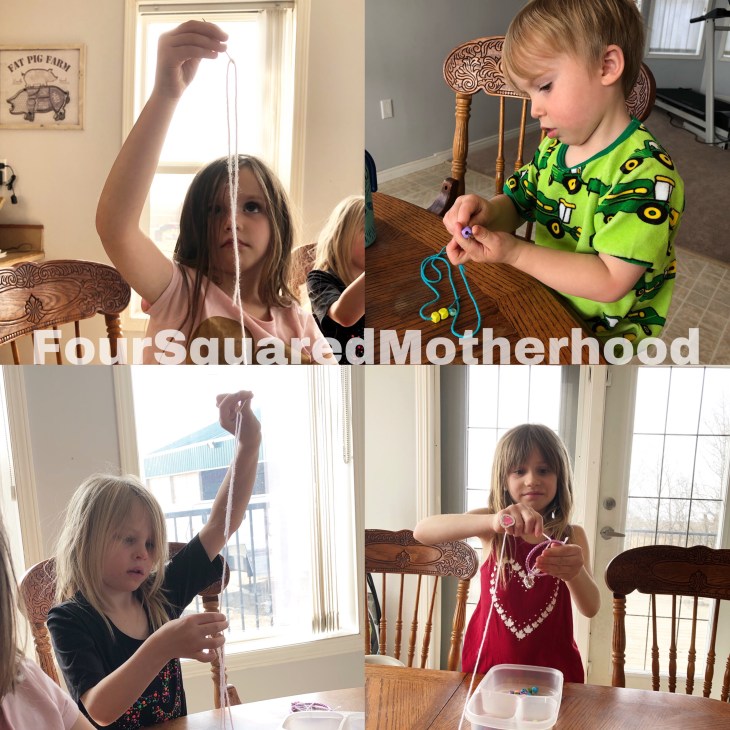

5. We added feathers to ours by tying with a string around the base of the feather then tying to either the beads of strings, the frame or to the string inside the dream catcher.
6. Tie on a string for hanging and hang near a bed (out of reach of little hands).
It ended up being a little more time consuming than I originally thought between 4 kids timing in around 2.5 hours. Perfect raining day project!
HAVE FUN!!